
adomz
I own!
- Joined
- Feb 9, 2010
- Location
- Lost in Wales...
Hello Guest, welcome to the initial stages of our new platform!
You can find some additional information about where we are in the process of migrating the board and setting up our new software here
Thank you for being a part of our community!

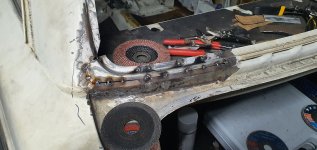


Hey!Coming along!
Are you using a quality body seam caulk on all your (non-visible) weld seams? That will help keep your repairs from future rot...
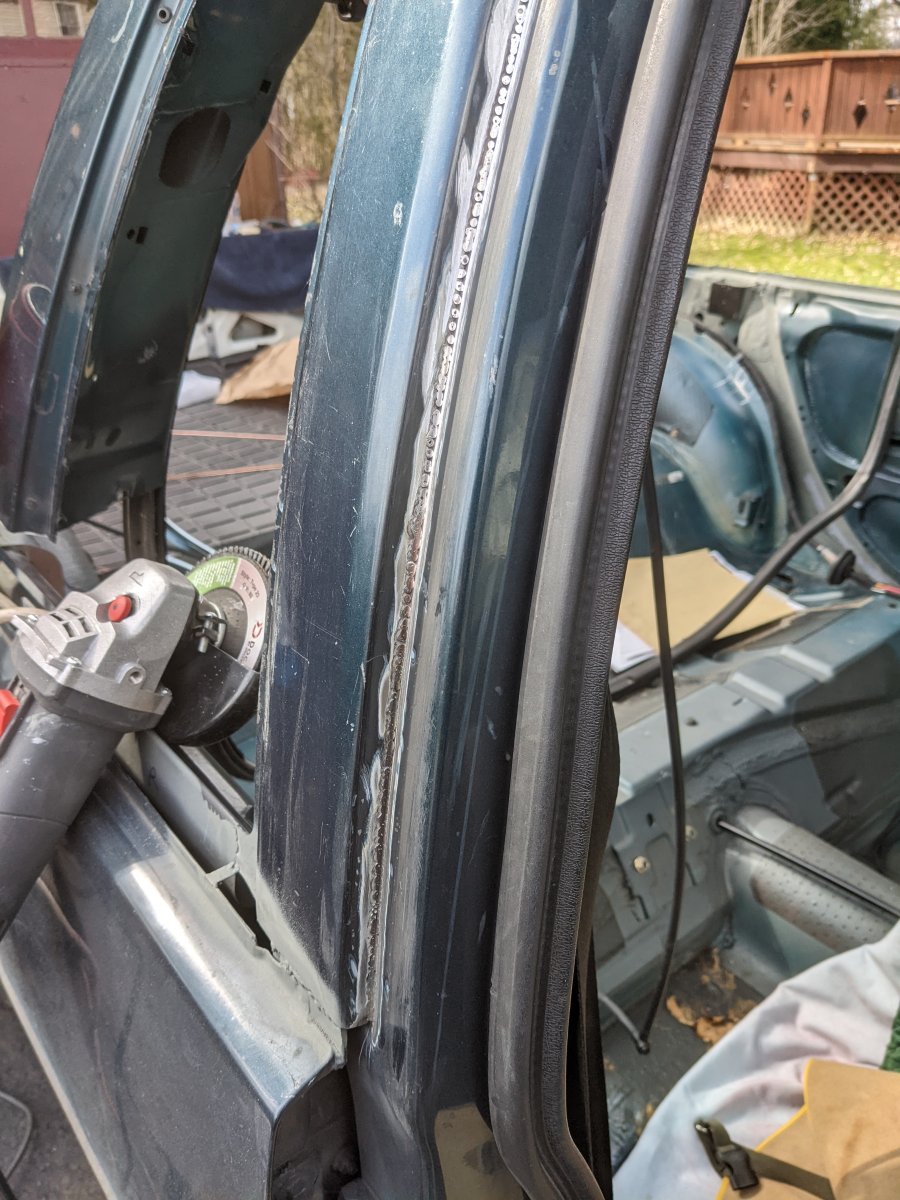
Looks like you could turn down the wire speed a tad - you appear to be getting more buildup on your tack welds than is needed for the gauge metal used. Would make for less heat into the material & grind work after...
Hey!
Cheers for the tips. What you mean about the caulk? I am not using nothing yet. Any links?
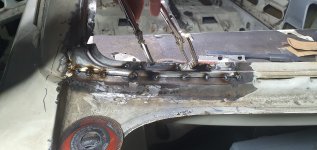
The speed was to fast, yes, it's been adjusted now, so it should be all good.
Appreciate the heads up!
Adam

Cheers dude!This is the one I usually use
This one is also good, but slower curing
They are paintable, and can be used over primer
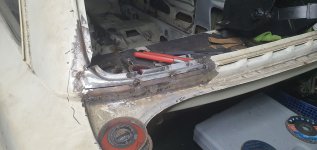
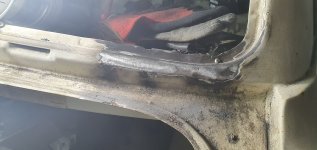
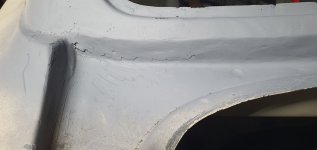
Areas like this , you may want to use a very fine bondo - U-Pol Gold for example, will take care of the small depressions & prevent moisture issues
View attachment 20631
similar to my situation here:
U-Pol gold is fine enough to just fill as needed

Yeah, that stuff, already ordered a few cans, can't wait!Spray this inside the body cavities (or equivalent)
Nice. I think I took about 50 measurements before I started on that rail section. Not a fun area.I have finally found the front offcuts for the front two rails to replace the rotten under battery tray rail and inner wings! Yes!
Pictures to follow!
I bet it wasn't a fun part lol. I just came back from the garage as i welded a piece of square section in between the rails so it doesn't lose the geometry. Will make some measurements as i go, but it seems not that hard of a job.Nice. I think I took about 50 measurements before I started on that rail section. Not a fun area.
I started to weld a piece of angle between the rails, but no issues with them moving.I bet it wasn't a fun part lol. I just came back from the garage as i welded a piece of square section in between the rails so it doesn't lose the geometry. Will make some measurements as i go, but it seems not that hard of a job.
Cheers!
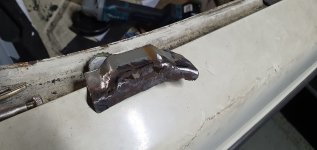
Well, it's not the most stressed part of the shell and it doesn't rely that much of any bending etcI started to weld a piece of angle between the rails, but no issues with them moving.
Not a quick repair, though.Just a quickie...